Mountain biking adventures often bring unexpected challenges, and one such challenge can be dealing with loose or troublesome chainring bolts when you’re without the right tools.
One way this can present itself is the dreaded creaking caused by loose chainring bolts… shudder. Though this can also be caused by chainring bolts having been installed without any grease, but that’s a different story for another day.
But worry not – with some ingenuity and improvisation, you can tackle this issue effectively – and you’ll be back out shredding trail in no time! 🙂
Understanding Chainring Bolts
The Importance of Chainring Bolts
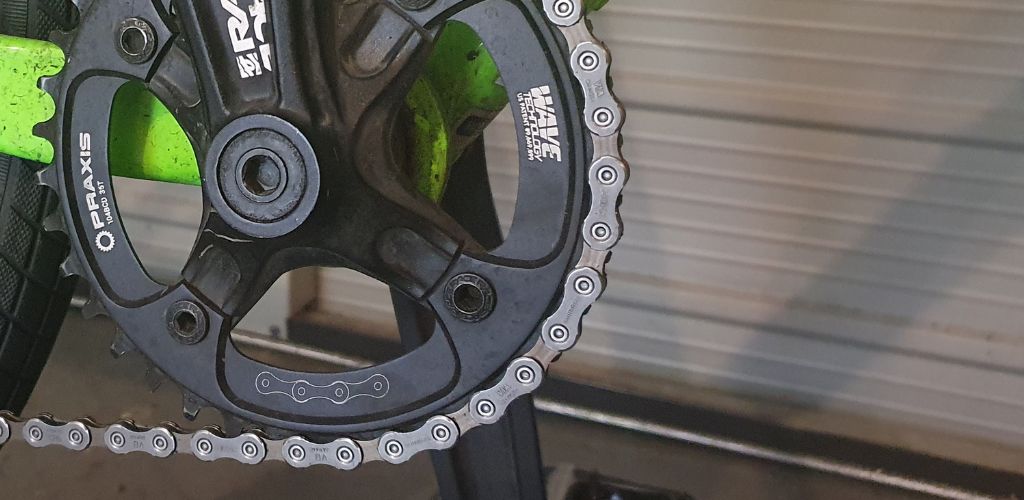
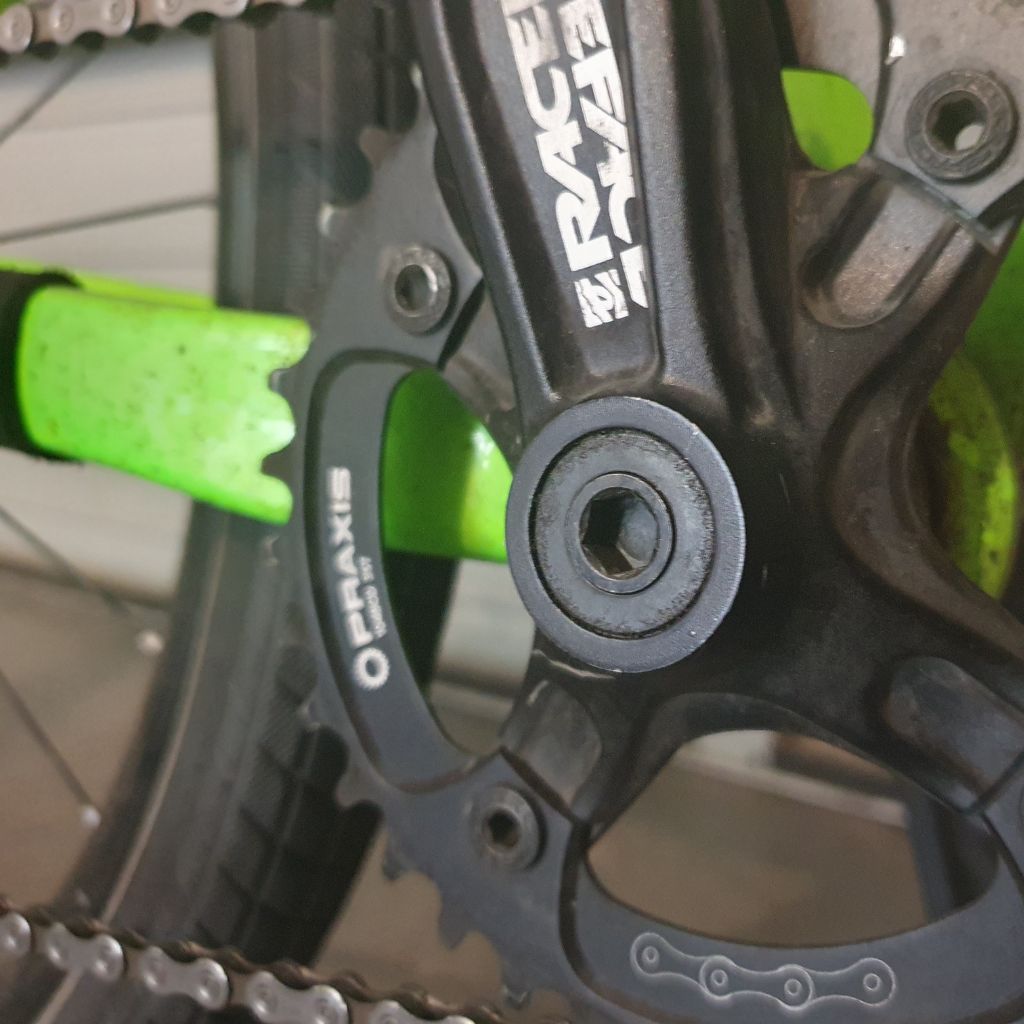
Chainring bolts are the unsung heroes of your bike’s drivetrain. These small components play a vital role in securing the chainrings to the crank spider, ensuring that your pedaling force is efficiently transferred to the drivetrain.
Properly tightened chainring bolts are crucial for a smooth and safe riding experience, as loose bolts can lead to chainring wobbling or, in extreme cases, detachment during a ride. Oof. Nobody needs that.
Identifying Chainring Bolts
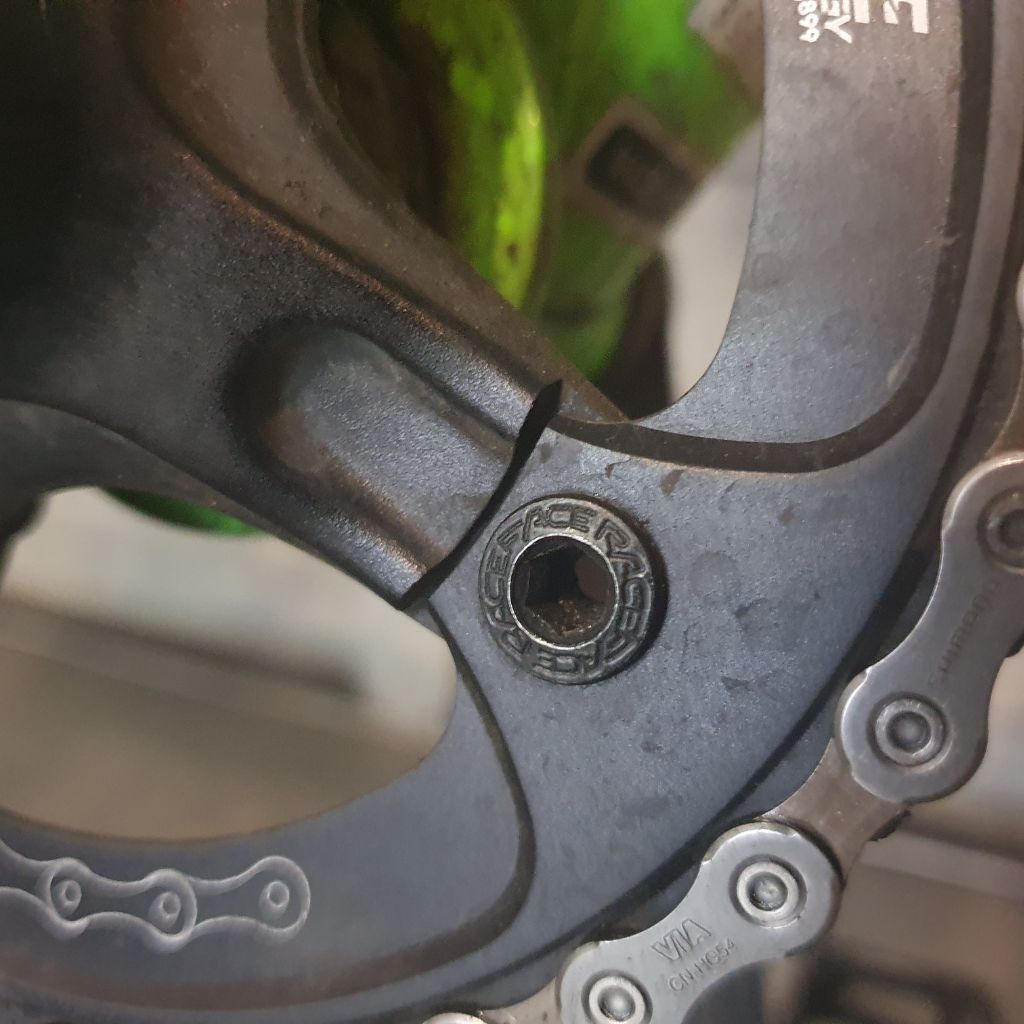
Typically, chainring bolts are made of steel or aluminum and have a hexagonal shape, though some may have a star-shaped Torx interface.
Standard sizes include 4mm, 5mm, or 6mm hex bolts. They usually come in pairs, with each pair consisting of a male and female part.
Knowing this will help you understand the points of leverage when attempting to tighten or loosen them without proper tools.
Method 1: Using Alternative Household Tools
Leveraging Common Tools
Sometimes, the solution lies in common household/garage items. A flat-head screwdriver, for instance, can be wedged into the slot of a bolt (on the side facing the bike), allowing you to apply torque.
A sturdy coin, like a dime or a penny, can also be used in a pinch.
Insert it into the slot and twist. This method requires some delicacy to avoid damaging the bolt head.
Pliers and Adjustable Wrenches
If the chainring bolts aren’t overly tightened, a pair of pliers or an adjustable wrench can be used.
Grip the edges of the bolt firmly and turn slowly, applying steady pressure.
This method gives you more leverage and control, minimizing the risk of stripping the bolt.
Method 2: Improvising with Bike Parts
The Handy Spoke Trick
An old spoke can be a lifesaver in this scenario. Bend it to form a hook or a loop that fits around the bolt or in its slot, then use it as a makeshift lever. This technique is particularly useful as spokes are a common component in a cyclist’s repair kit and can be easily manipulated.
Method 3: Leveraging Body Mechanics
Using Hand Pressure
In cases where the bolts are not excessively tight, direct hand pressure might be enough. Press your thumb on one side of the bolt and a finger on the other and twist. This method relies on the bolt being reasonably loose and your grip strength.
If they’re this loose to begin with, likely you’re just wanting to get them tight enough to finish your ride without anything worse happening.
Employing Foot Pressure
If hand pressure proves insufficient, your feet can provide more force. Lay the chainring flat on a non-slip surface, and use one foot to stabilize one side of the bolt. Apply pressure with your other foot to the opposite side, exerting enough force to turn the bolt. While this method can be effective, care must be taken to avoid bending or damaging the chainring.
Method 4: Seeking Assistance
Collaboration with Fellow Bikers or Hikers
Never underestimate the power of community.
On the trails, fellow bikers or even hikers can be invaluable resources. Someone might have the exact tool you need or offer a technique you haven’t tried. This method not only solves your immediate problem but also fosters camaraderie among outdoor enthusiasts – who knows when they might have an issue that you or other fellow riders could help out with.
Bike Shops and Bike Repair Stations
If you’re in proximity to a town or city, a local bike shop can be your best bet.
These shops are typically equipped to handle all sorts of bike repairs. Additionally, some public areas may have bike repair stations equipped with essential tools for basic bike maintenance.
Preventive Measures and Tips
Regular Maintenance Checks
To avoid getting caught in such situations, regular maintenance of your bike is key. Periodically check the tightness of your chainring bolts, especially before long rides or after particularly rough trails.
Carrying a Basic Bike Tool Kit
While our focus here is on improvisation, the ideal solution is to carry a basic bike tool kit. This should include a set of hex keys, a chain tool, and a multi-tool with chainring bolt capabilities. It’s a small investment that can save a lot of hassle.
Learning Basic Bike Mechanics
Understanding the basics of bike mechanics can empower you to handle minor repairs and adjustments yourself. There are plenty of resources available, from online tutorials to workshops offered by local bike shops. Hopefully you’ll find what you learn here on ShredTrail comes in handy!
The bottom line…
Being prepared is always the best policy, but when you find yourself in a bind without the right tools, these methods can be a real ride-saver.
Remember, the key is to approach the problem with patience and creativity. Each method has its own merits and can be adapted based on the situation at hand. See you on the trail!