Are you having issues with your tubeless MTB tire leaking air (and likely sealant too)?
If it’s not a puncture in the tire, which you should be able to spot very easily due to a spray of sealant pouring out when you try and add air, then it’s likely to be that your tubeless setup is needing maintenance.
Today I’m going to take you through a step-by-step guide on how to take your tubeless wheel apart quickly and easily, check things out, replace the tubeless rim tape with nice fresh tape, add fresh sealant, put the tire back on and get it all aired up again.
What makes up a tubeless mountain bike tire setup?
Time for a quick reminder in case you’re not certain about all the parts that make your mountain bike wheel a tubeless setup.
- Tubeless compatible rim
- Tubeless compatible mountain bike tire
- Tubeless rim tape
- Tubeless sealant
- Tubeless valve
And that’s it!
So what tools and supplies are we going to need?
We’re going to be taking the tire off the wheel, removing the old sealant and tubeless rim tape, putting new rim tape on, adding fresh sealant, and then airing the tubeless tire up with a high air volume device (a mini pump or average floor pump probably won’t manage to get it done).
This is what I used for this step-by-step process to sort out my tubeless tire:
- 2 x tire levers
- Stan’s Tubeless Rim Tape (need’s to be approx 1mm wider than your rim’s internal width!)
- Stan’s Tubeless Sealant
- An old rag
- An air compressor
I reused my existing mountain bike tubeless ready tire, my wheel/rim, and the tubeless valve that I already had installed.
Let’s start our tubeless mountain bike maintenance!
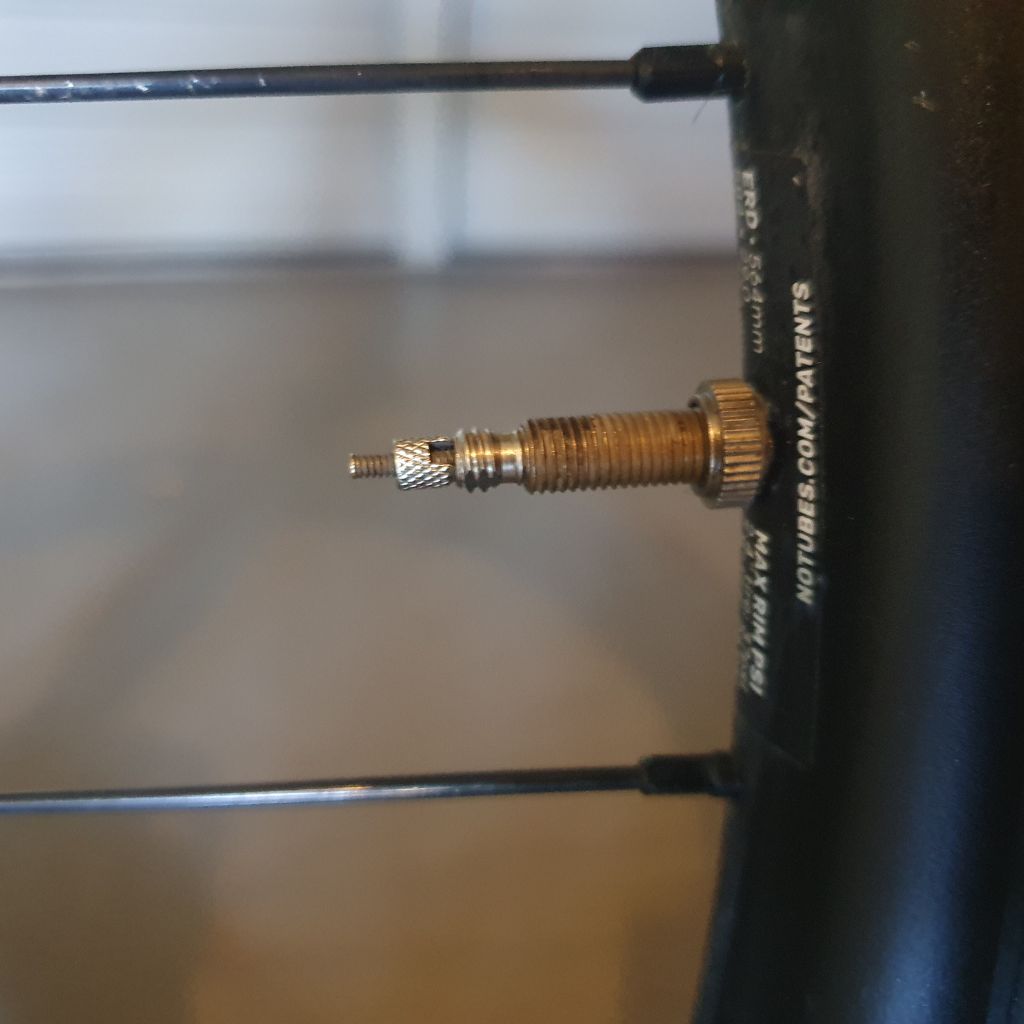
The rear tire on my mountain bike was leaking – I could hear air escaping around the valve, despite having just added some fresh sealant recently.
The valve looked in fine condition, and was done up tightly with it’s little tightening collar. If everything was as it should be inside the tubeless tire, with the tubeless rim tape providing adequate seal to the vast majority of the internal wheel structure, and with the added sealant meshing beautifully with the tubeless tire to form an air tight chamber.
However, this was not the case, the hissing around the valve continued, and upon closer inspection I could also see little patches of sealant around some of the spokes around the wheel. This was further evidence that the rim tape was in terrible condition.
In case you weren’t already aware, it’s actually recommended that you replace the tubeless rim tape on your mountain bike wheel every few new tires at the most, which I had not done – whoops.
So, time to open up the wheel.
Obviously the wheel needs to be taken off the bike if you haven’t done so already.
Next we need to open up the presta valve, to let any remaining air out. You can do this either by unwinding the presta top mechanism, and pushing down on the end of the presta valve to let the air out – or if you have a presta valve core remover you can remove the valve core altogether.
I just pressed the presta valve down to let the air out.
Next, I grabbed my tire levers, and with a bit of levering and wrenching, managed to get the tire off the rim.
Next you’ll want to discard the gross old remaining sealant from your tire when you’re working on it like this.
Next, I gave the tire a good clean out with a rag to get it clean as possible, free of old sealant build-up and dirt and grime that has managed to get in from shralping berms. 😉
Now it’s time to turn my attention to the wheels rim.
I undo the securing collar from the presta tubeless valve, and push the valve through to the inside of the wheel so it pops out. Set it aside, but don’t lose it, or its tightening collar!
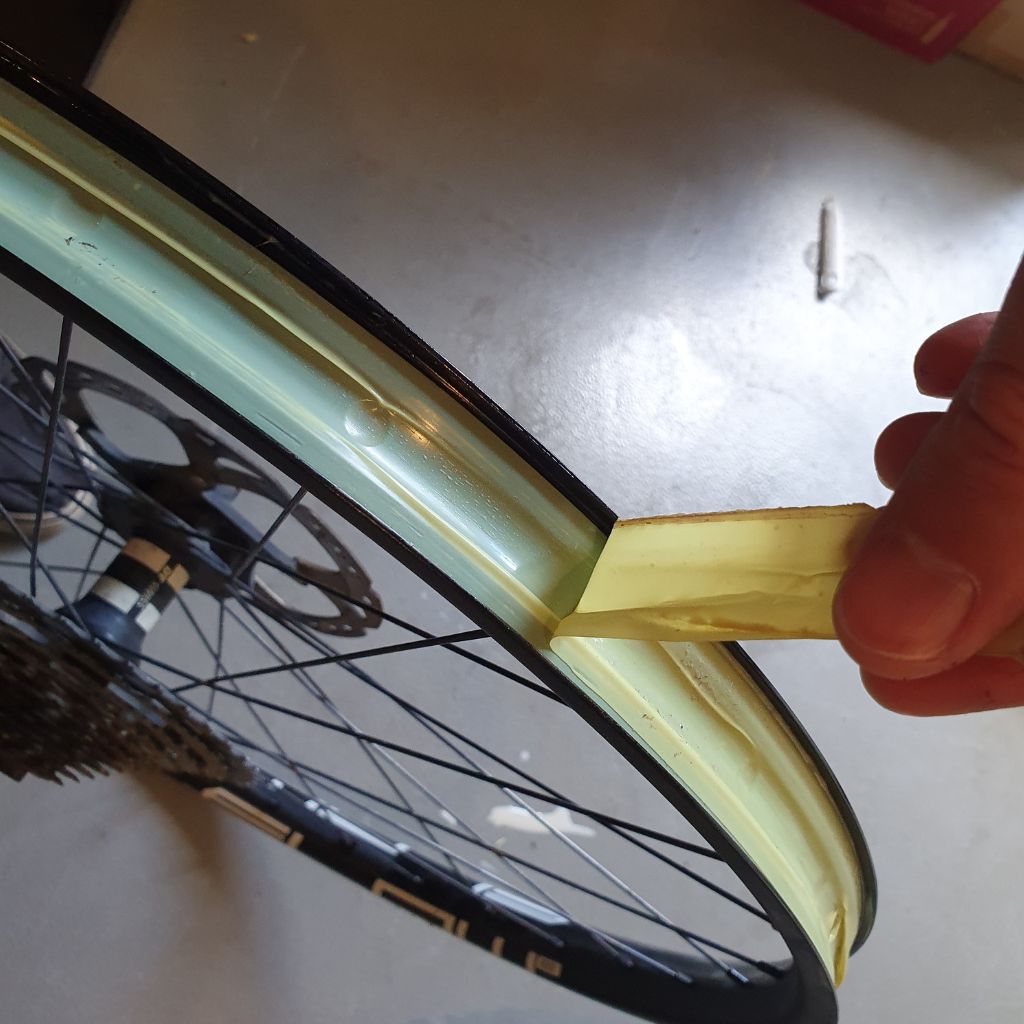
I could immediately see that the tubeless rim tape was bunched up in several places, and just generally extremely thrashed. It was amazing it was holding onto any air or sealant in that state.
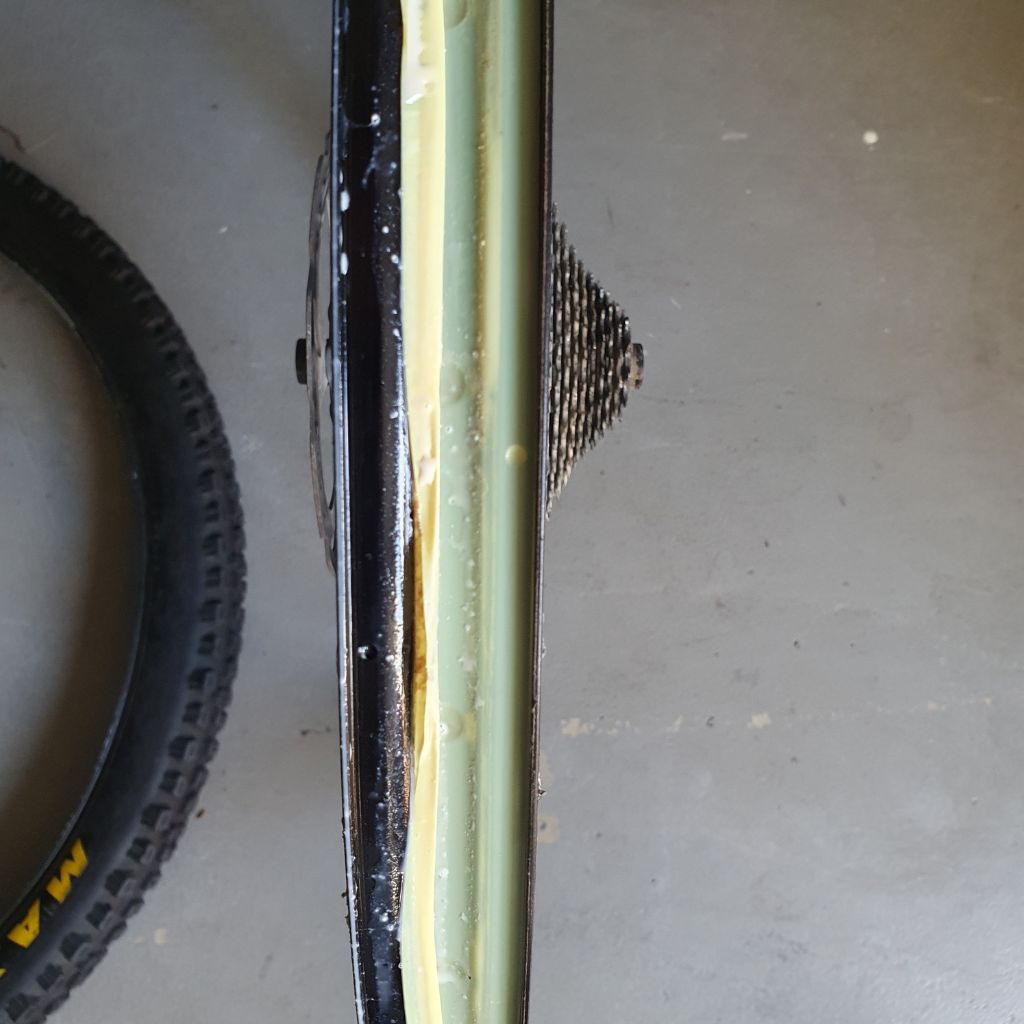
Find the end of the rim tape, and start peeling it all off.
You’ll probably find like I did that there is a little bit of sealant inside the spoke holes and other mess around the inside of the rim that we need to get rid of.
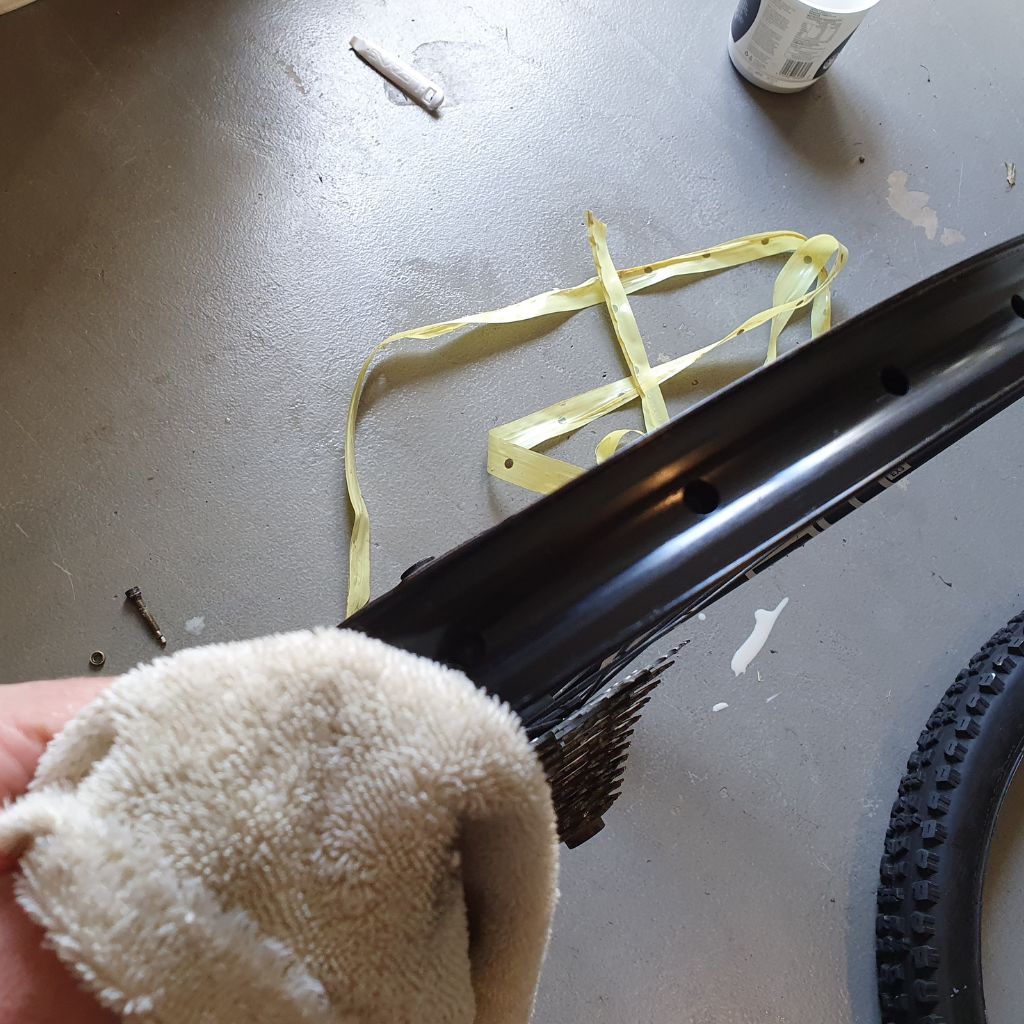
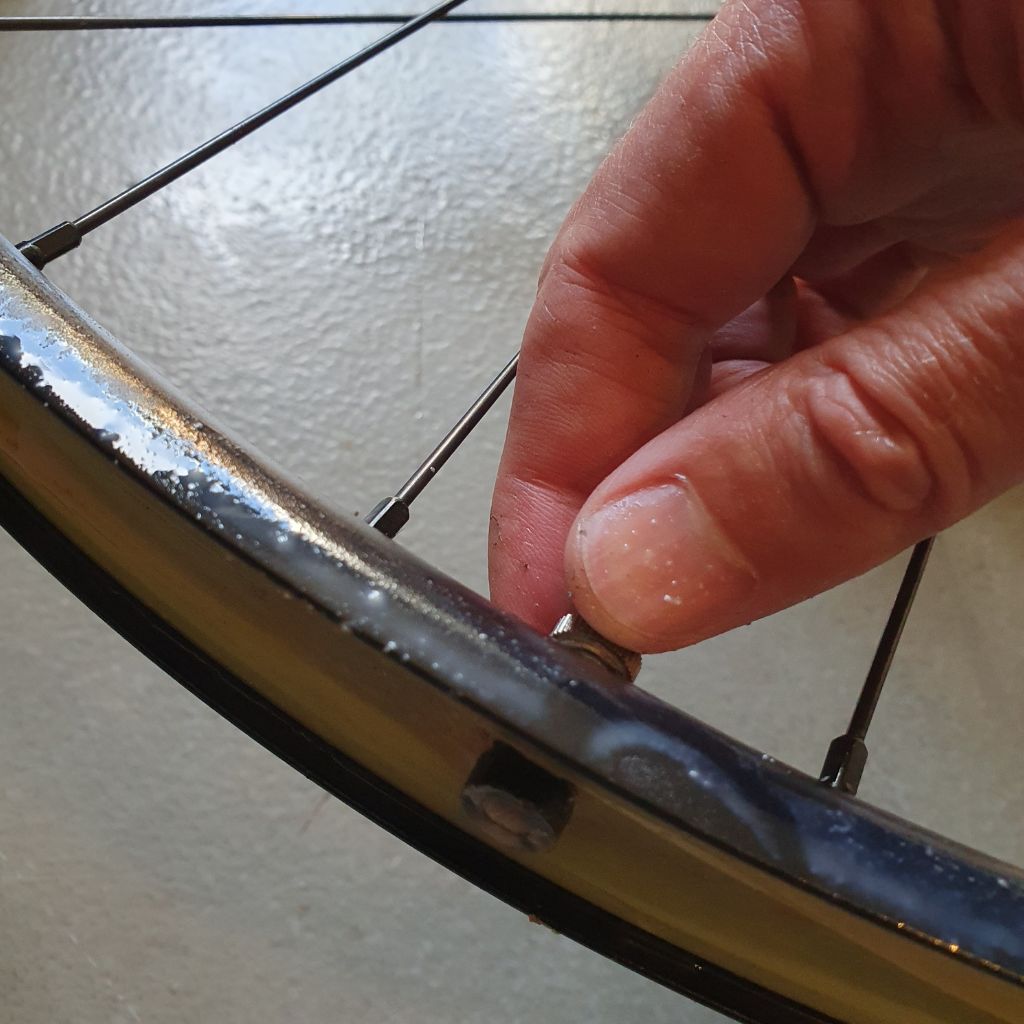
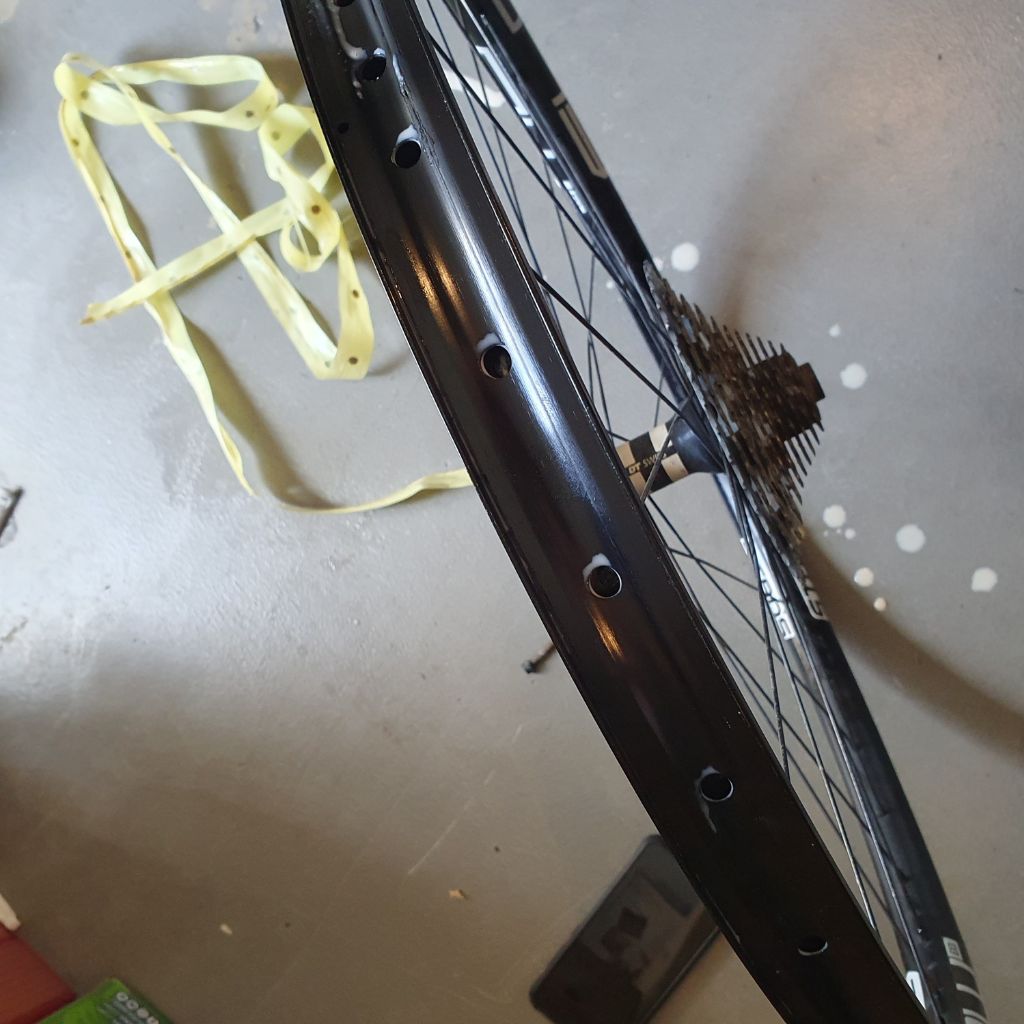
Then clean the rim all the way around the wheel to make sure there is no old sealant or adhesive residue remaining on the rim – we want this to be a perfectly clean surface to work with when we apply the new rim tape.
It can be helpful to use some rubbing alcohol or something similar with the rag to get any bits of adhesive residue off the rim. I didn’t have any however, though thankfully there was not much residue so I just used a bit of good old rubbing back and forth with my thumb to get rid of those bits.
Once it was all clean and ready to go, I grabbed the roll of rim tape.

As I noted above, you need to make sure you buy the correct width of tubeless rim tape. Initially I was not certain what to get, but when I looked up the specs of my Stans Flow EX3 27.5 rim it said it has an external width of 32.6mm, and more importantly, an internal width of 29mm.
I was pretty sure that I needed rim tape just a little wider than the internal rim width, and sure enough, my bike mechanic recommended to get one that was 1mm wider than the internal width of my wheels rim, so I had bought a roll of 30mm rim tape.
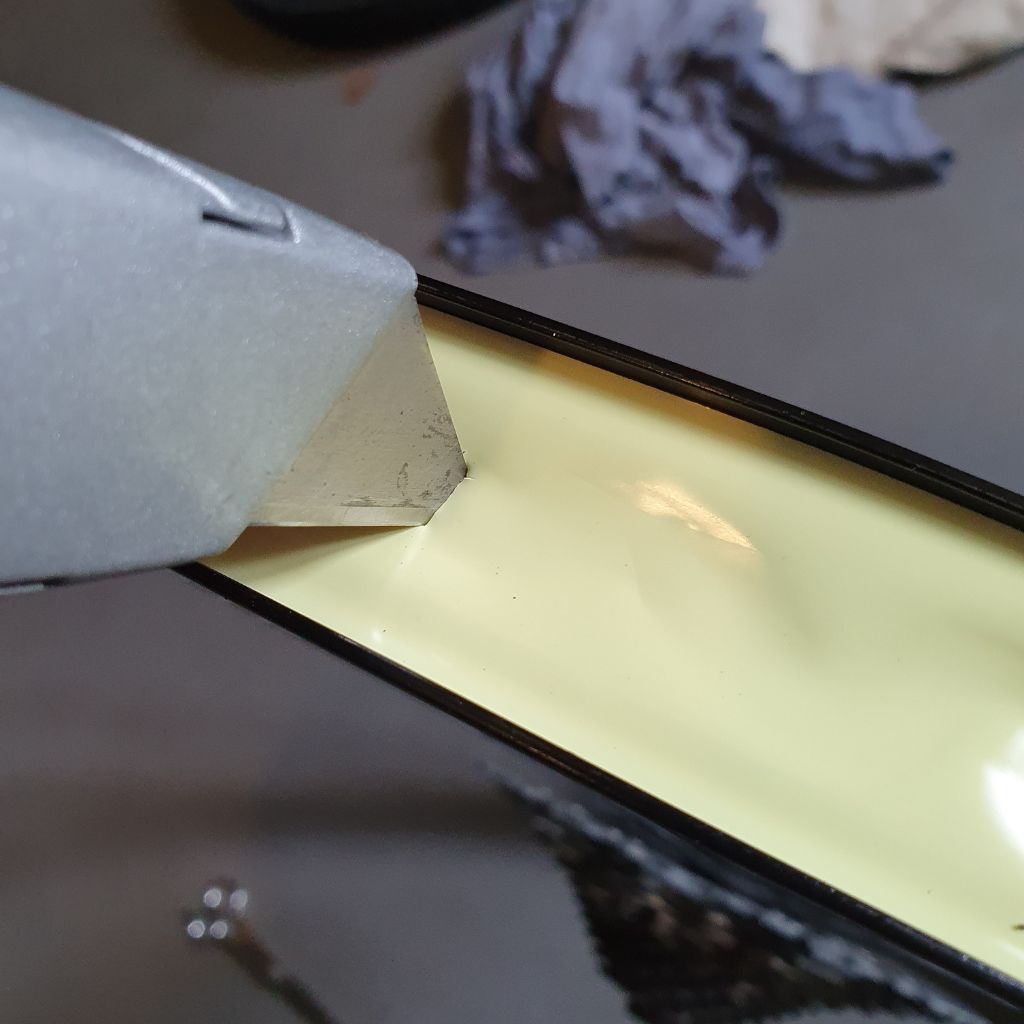
Starting a few inches past the valve hole in the rim, I started stretching the tape around the rim, across the valve hole first, and then continuing around the rim until I was back where I started.
I continued to a few inches past the valve hole again, this time on the far side, so that the entire both sides of the valve hole for a few inches on each side have an overlapping double thickness of the rim tape.
Then just cut the tape off, and press it down.
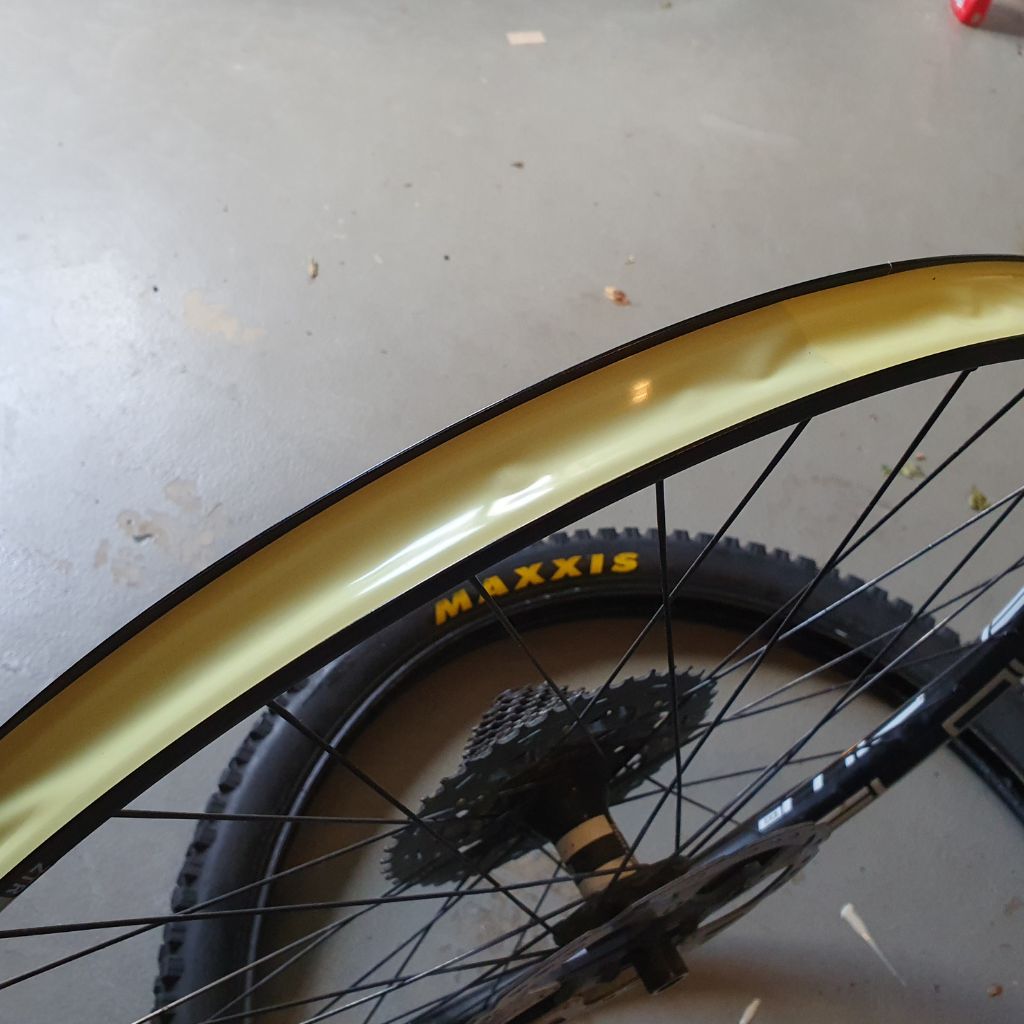
You should now have tape tightly run around the entire inside of the rim, evenly placed in the middle of the rim, and just touching the outer rim wall on both sides.
It doesn’t matter if the middle of the rim tape is not perfectly smooth, with a few wrinkles etc. All we care about is that it is well secured, evenly in the middle, providing a great seal.
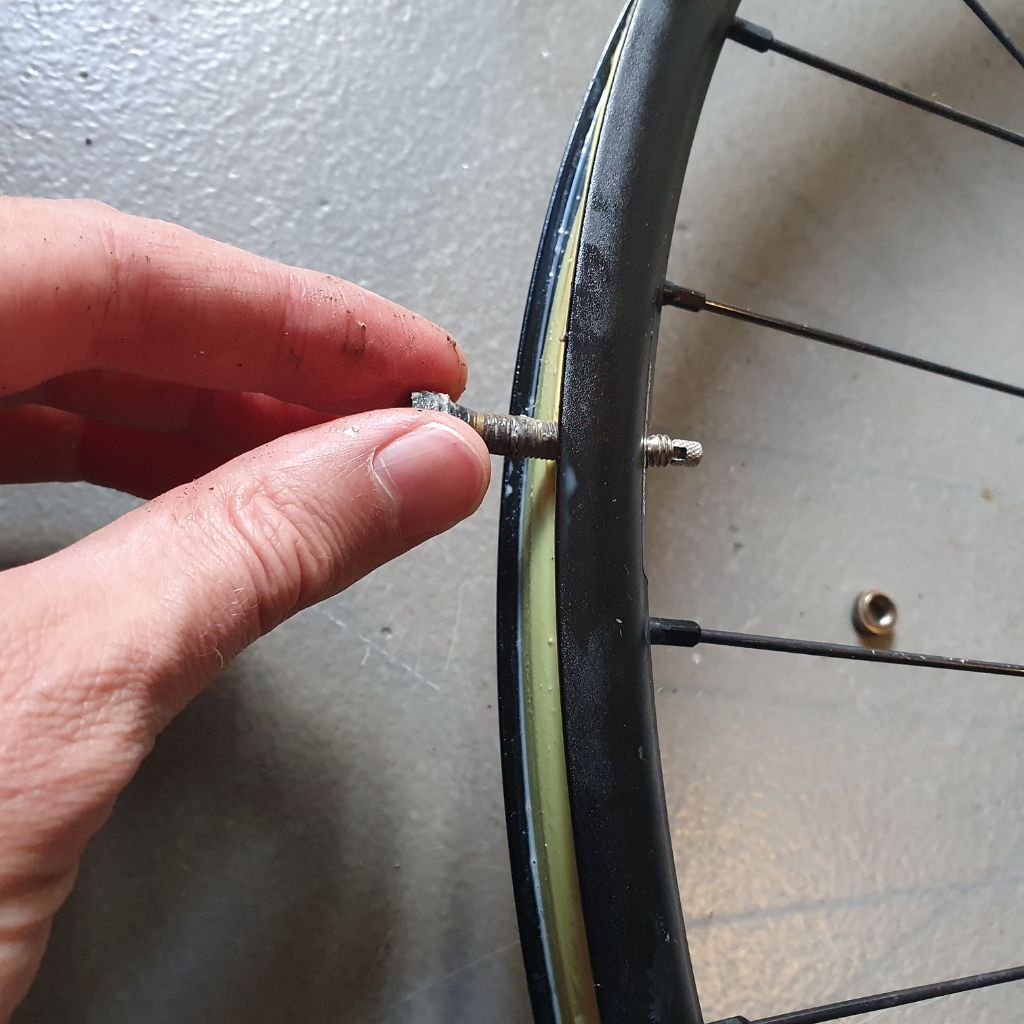
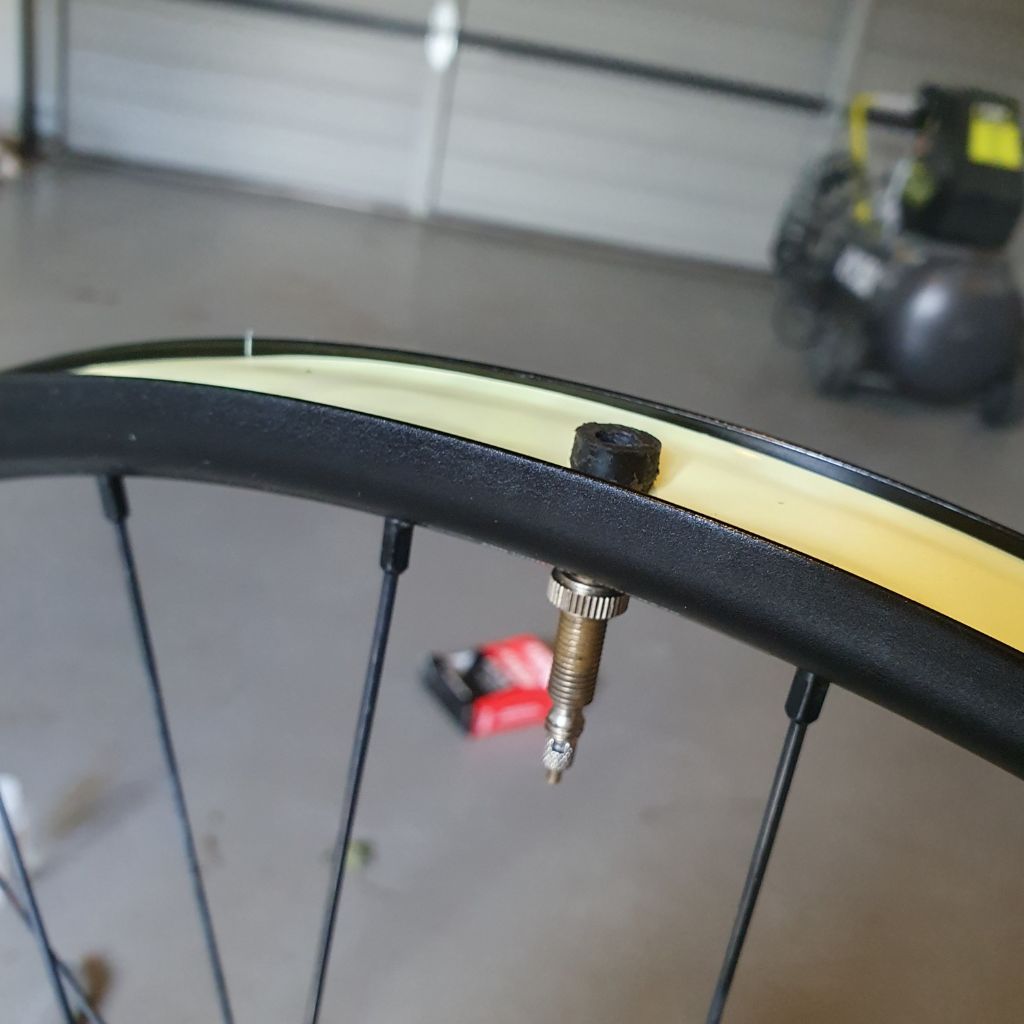
Next I found the valve hole, and using a sharp blade cut a small X where the valve hole was from the inside of the rim hollow, to allow me to stick the valve back through.
And then securing it with its tightening collar snugly.
Now I refit the tubeless tire, with the Maxxis logo lined up with the valve for maximum elite mountain biker street cred. 😉
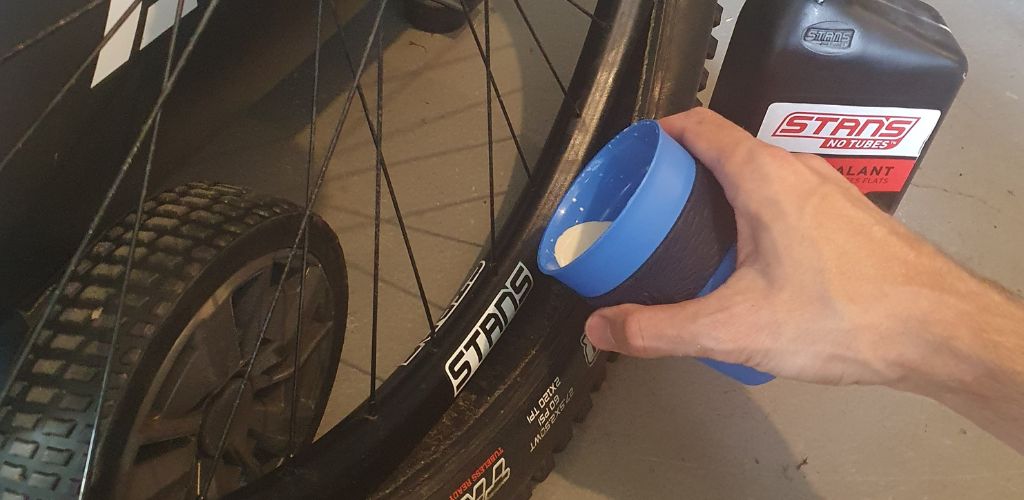
I left a gap to allow me to pour some fresh sealant into the tire, which I did, before fully pulling the tire over the rim edge into place, ready for airing up.
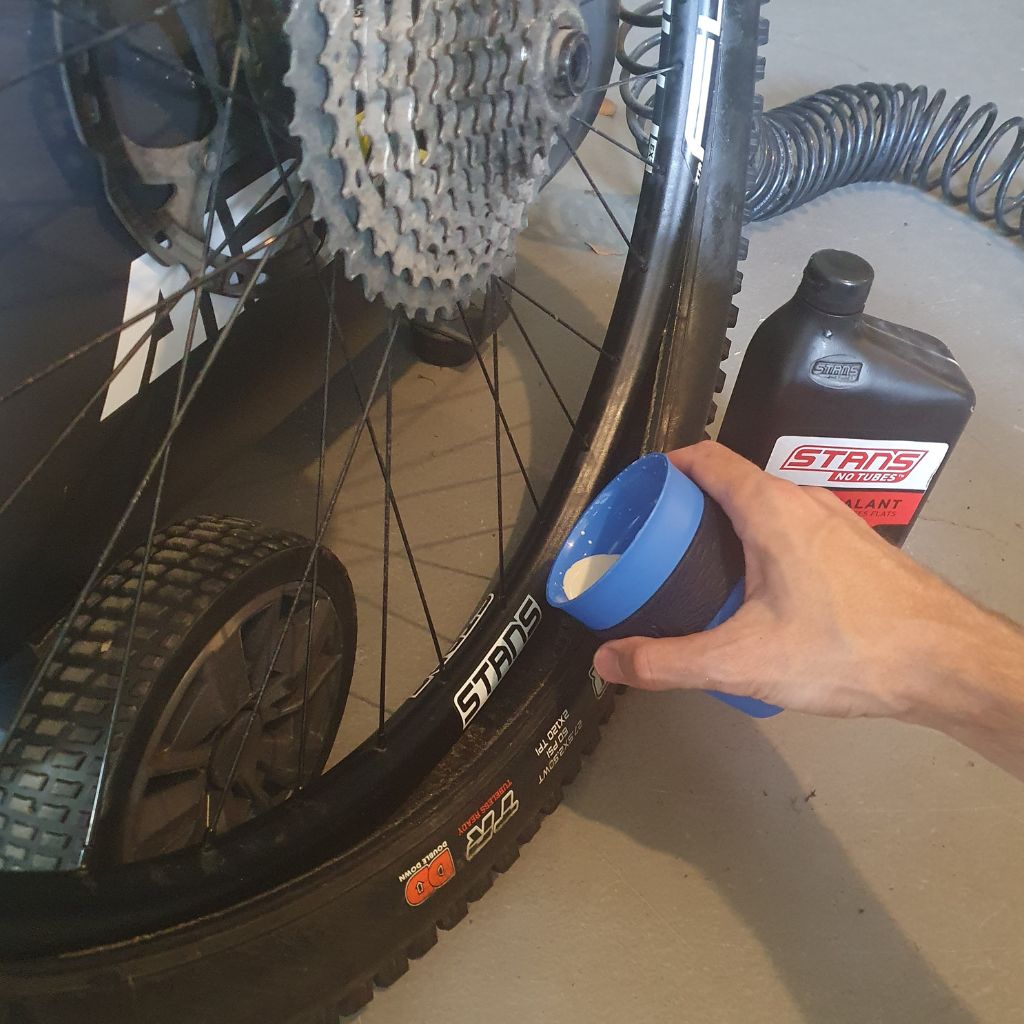
Make sure during that step that you add enough sealant – your bottle of sealant will tell you how much you’re needing to add for your wheel and tire size combination.
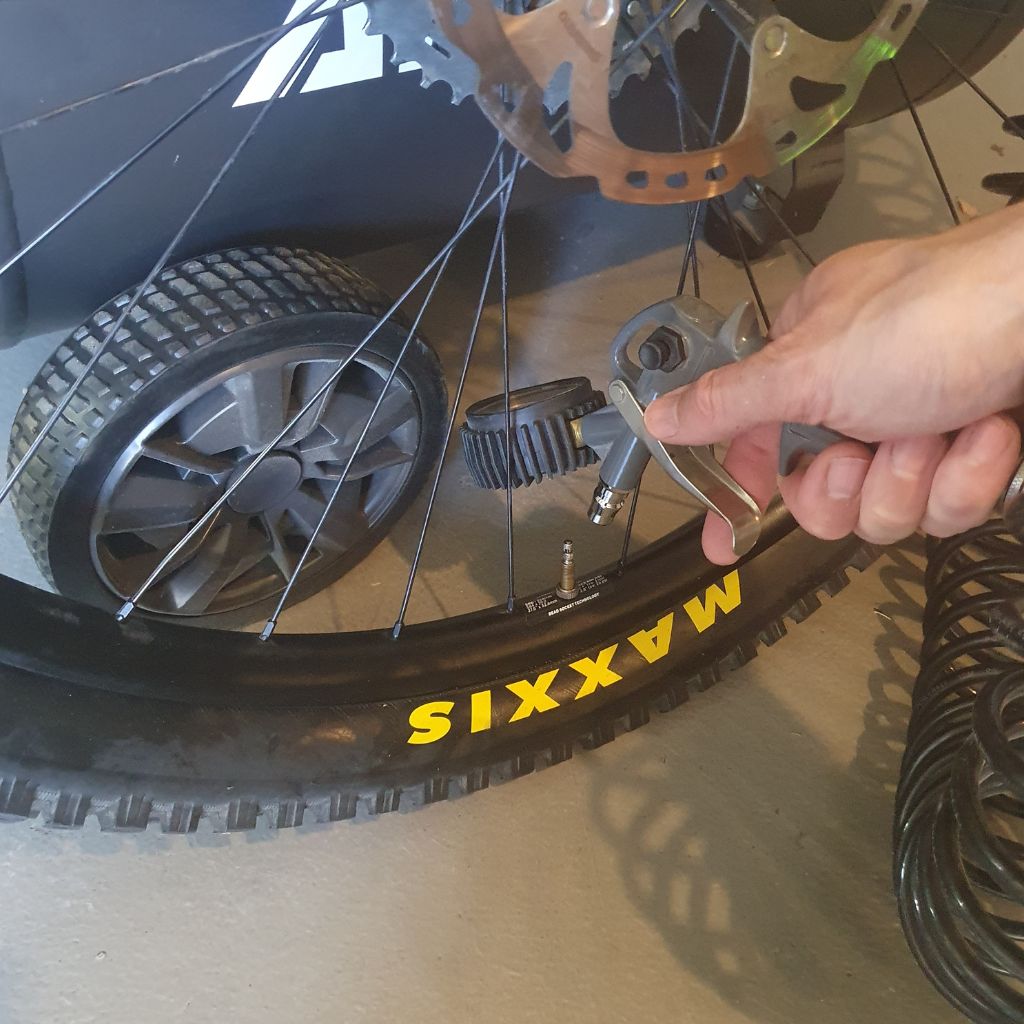
Next I cranked up my beast of an air compressor, hooked it up to the open presta air valve, and blasted the tire full of air – the tubeless tire quickly pressed against the rim, and then gave the several loud tell-tale BANGS of a tubeless tire fully seating properly at around 35 PSI or so.
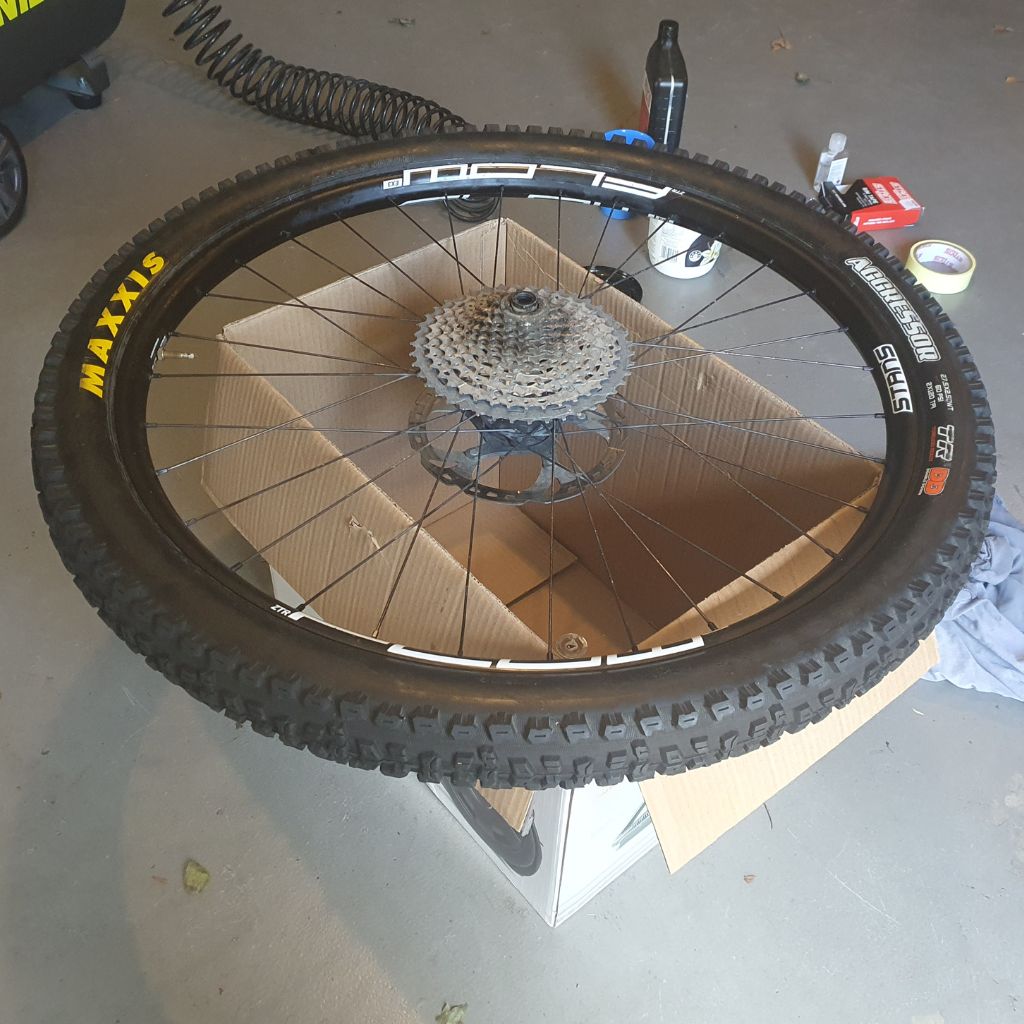
Now we need to grab the wheel and hold it flat horizontally, tilting it forward and back over and over to slosh sealant everywhere inside the rim and tire. We need to move the tires position in our hands repeating this and turning it over and repeating until the entire surface of the internal rim, valve, and tire have been coated with sealant.
Next we want to set it down for a time on a box or bucket, then repeat for the other side.
By this time the tubeless tire should be well and truly ready to roll! (I like to give it at least 30 mins per side before riding on it).
Congratulations, you now have a tubeless mountain bike wheel that you can lower down to reasonable pressures for mountain biking (I like around 25 for rear, and 22 for front personally, but it depends on your weight, tire choice, trail terrain you ride!)
I hope this helped – now get out there and shred those trails!