Let me set the scene first – I hadn’t been using my enduro mountain bike for quite some time, letting it hang on the wall of the garage. It’s tubeless tires had gradually deflated over time, eventually becoming totally flat and crumbled against the wall.
When it came time for me to bring it back to life, I thought hmm, let me throw in some fresh sealant to replace the minimal amount of dried up tubeless sealant left in the tires, and use the air compressor to just blast them full of air, reseat, and with a little luck I should be back in business…
Well… it didn’t work out quite like that.
Initially, I thought it was sorted, the Stan’s sealant added, the air compressor did it’s thing, the tires bead was seated with a bang on the rims, and I shook the tires back and forth, sloshing sealant around inside to coat them well – letting them rest on each side on a bucket too to make sure things were good.
They seemed to be holding pretty well, so I reinstalled the wheels on the bike – but when I returned later I discovered the rear wheel flat. Oh no!
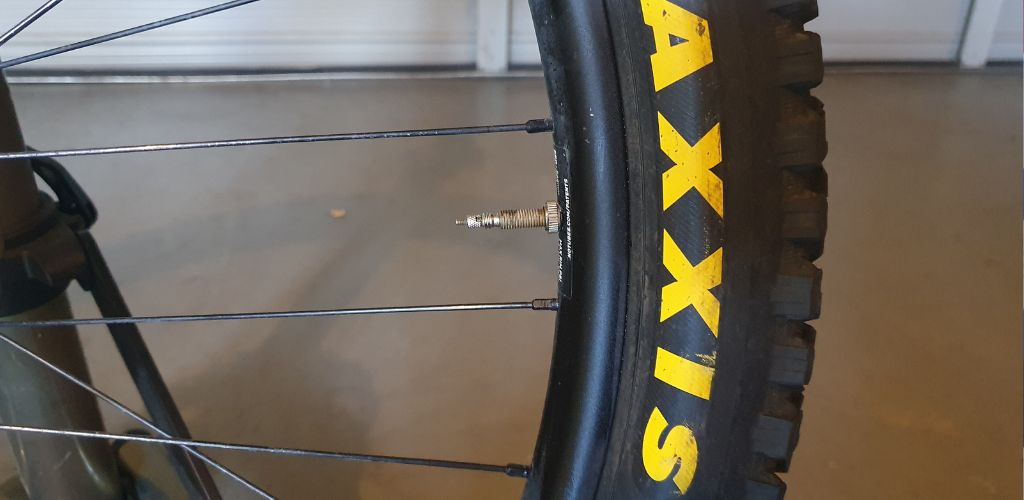
I used my floor pump to pump the rear tire back up, but as soon as I removed the nozzle I could hear air escaping. Holding it to my ear I quickly found that the main culprit was the tubeless valve, hissing away letting out all that precious air.
I tried tightening the valve just to rule that out, which seemed to slow the air escaping a little.
My next thought was, ok so perhaps I didn’t add enough sealant to fully coat the inside of the tire, including all around the tubeless valve? I went so far as to open up the tire again, add some more sealant, and re-air the tire with the air compressor. Still hissing.
Ok, I guess I need to take a proper look at the inside of the tire and rim and see what is happening.
It was immediately apparent.

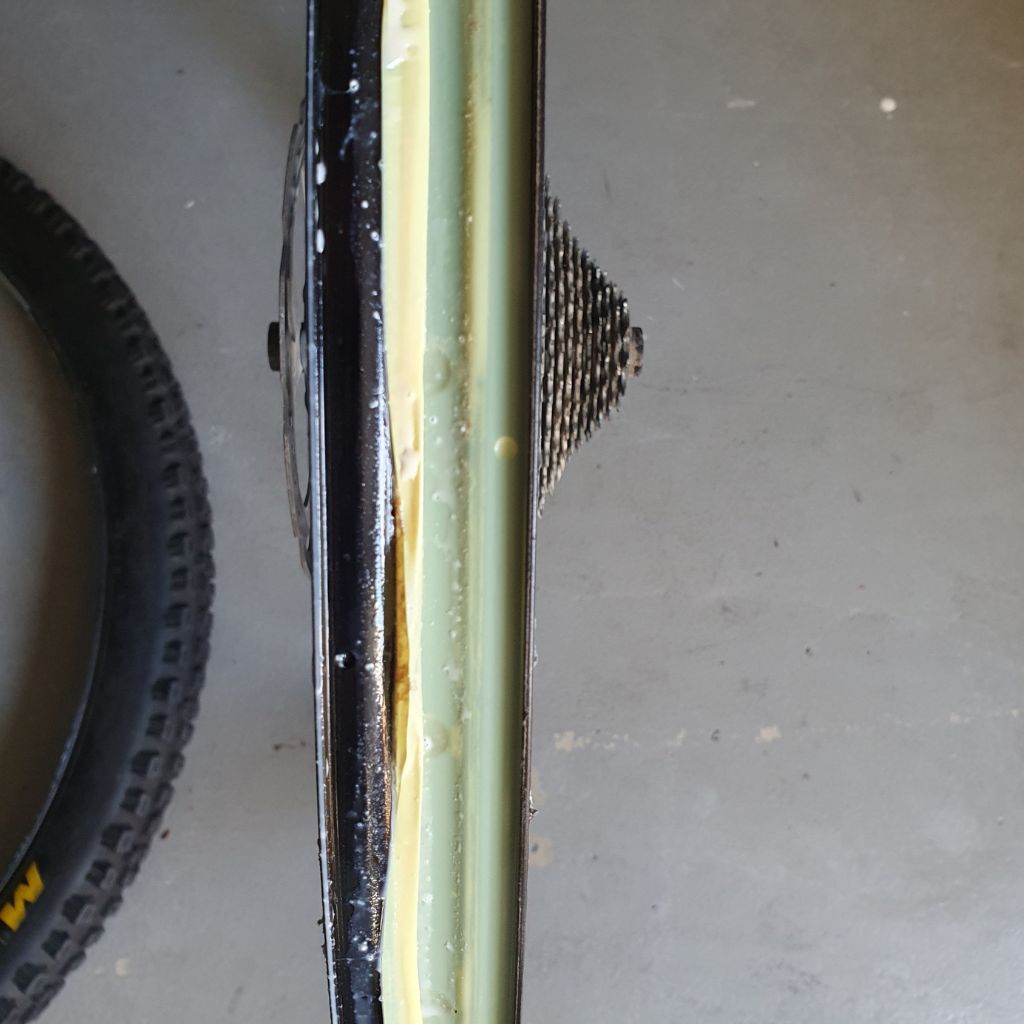
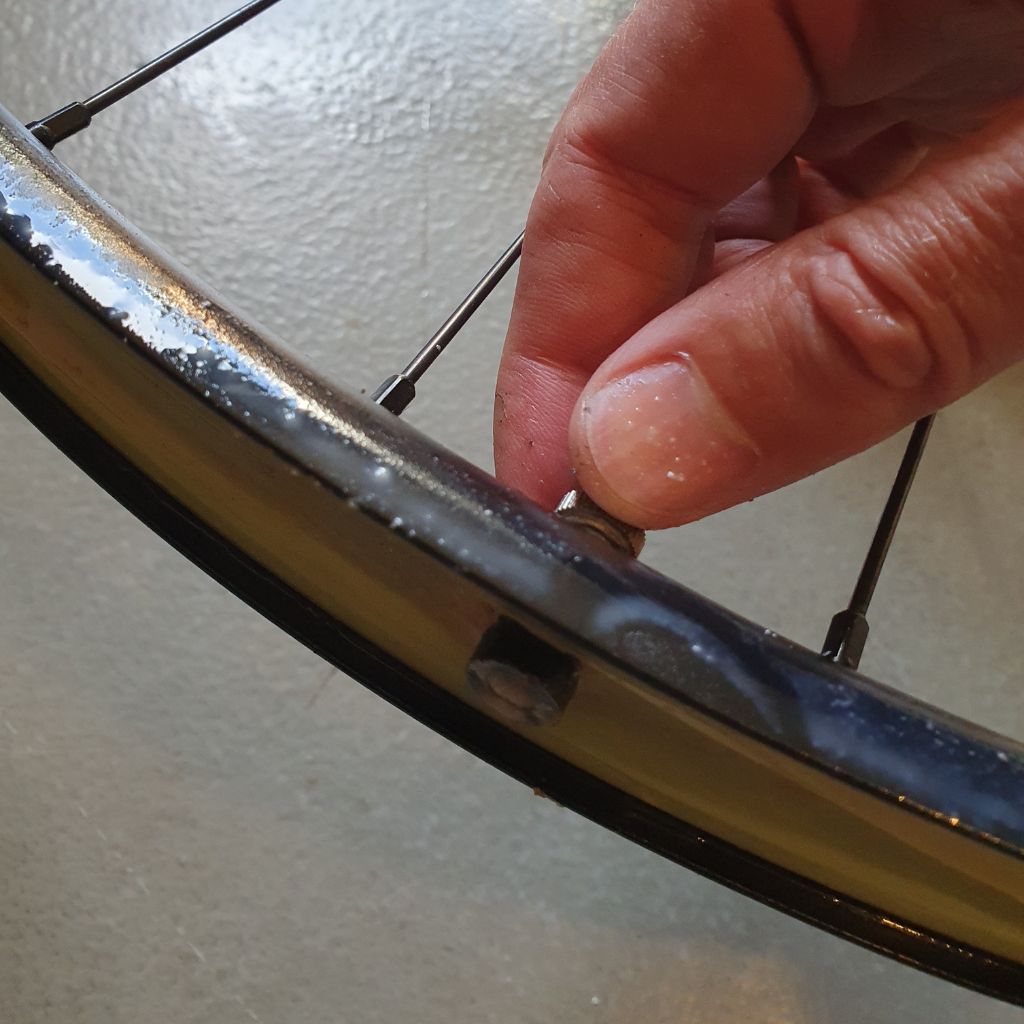
The original Stans tubeless rim tape was old and thrashed, and in several places around the rim was scrunched into the rim well, away from the wall – and also was not in good condition around where the tubeless valve was going through the rim.

It was time to remove the tire and clean it up, saving all the fresh sealant first in a jar.
Then I removed all the old rim tape, the tubeless valve too, cleaned up the rim, and put fresh rim tape on. Reinstalled the tubeless valve.
Tire went back on, sealant back in, air compressor again saved the day and aired up the tubeless tire no problem.
Fixed.
But there can actually be many possible reasons for a tubeless valve to be leaking air – what I encountered and fixed is just one of them. Let’s go through all the possible reasons your tubeless valve could be leaking on your mountain bike…
What are the most common reasons for a tubeless valve to seem to leak?
Improper Valve Installation or Damage
The valve might not be installed correctly, or it could be damaged. This includes issues like the valve not being tightened sufficiently, the rubber seal being damaged or worn out, or the valve itself being bent or broken.
Rim Tape Issues
If the rim tape is not applied correctly, has gaps, or is damaged, air can escape through the spoke holes (or potentially valve hole) in the rim. The tape needs to be well-seated and cover all holes perfectly to ensure an airtight seal.
Valve Core Issues
The core of the valve might be loose or faulty. Sometimes, tightening the valve core or replacing it can solve the problem. Over time, the core can become clogged with sealant or dirt, which can also cause leaks.
Sealant Problems
Lack of enough sealant, or old, dried-out sealant can lead to air leaks. The sealant plays a crucial role in sealing small imperfections in the tire and rim interface, as well as the valve seat.
Tire and Rim Compatibility Issues
Sometimes, the tire and rim might not be perfectly compatible, leading to a poor seal around the valve area. This is more common with non-tubeless ready rims or tires.

