Yes 10 speed specific quick links are often used with 10 speed Shimano chains.
The question is a common one, and for good reason.
For decades Shimano resisted the growing trend moving to quick links (also known as master links) as a method of breaking and rejoining chains, but in 2017 they finally released a Shimano quick link designed for use with their 11 speed chains.
My recent experience
Every day I commute to work on my hardtail mountain bike, which means each year I’m doing around 5000km (3100 miles) on this bike alone – so it should come as no surprise that the drivetrain gets very worn.
This is especially true as I don’t normally change the chain as often as I should, and instead end up wearing down the entire drivetrain – usually until something gives.
A few days ago I was stopped at the lights, and when the light went green, I put the power down and snapped my chain without warning.
Thankfully I still had the bike under control, and was able to get out of the way of the other traffic, but it of course led to an overhaul of the existing Shimano 10 speed drivetrain on the bike.
Aside from the chain having broken, the cassette was terribly worn, and the front chainring was showing serious signs of wear as well.
While at work that day, I got the bike mechanic to swap the chain and cassette and ordered a new narrow wide chain ring (as I’ve managed to drop the chain several times over the years without one, even just jumping gutters while commuting – though the previously worn stretched chain wouldn’t have been helping there).
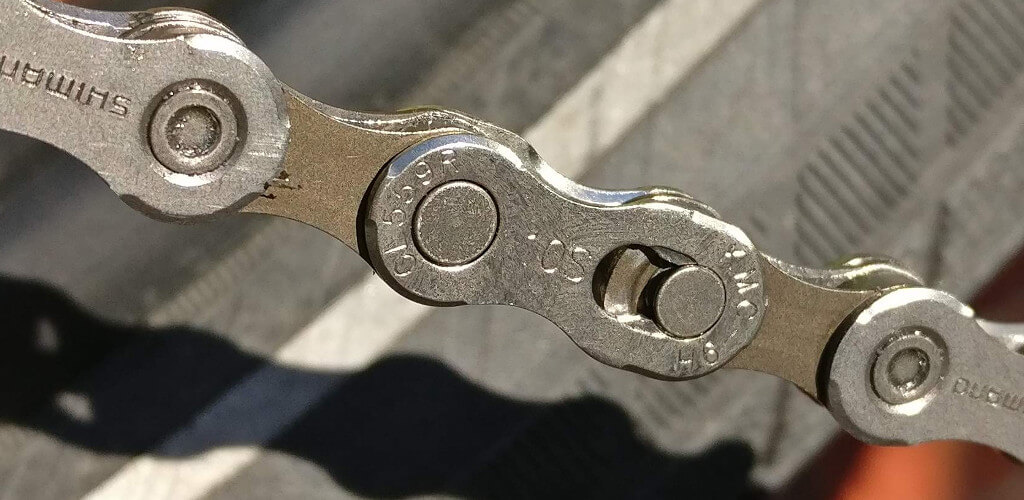
When I picked up the bike and rode home, I noticed that this new Shimano 10 speed HG-X chain didn’t have a quick link (also known as master link or power link) on it, which the previous chain did have.
The solution
After double checking, I confirmed that it is fine to run a KMC quick link on Shimano chain – obviously making sure you get the appropriate one designed for your number of gears.
I soon picked up a reusable KMC 10-speed quick link (known as a “Missing Link”, from my local bike shop, and put that on my Shimano HG-X 10 speed chain – as it just makes working on the bike’s drivetrain that much easier.
It’s a very easy process to add one to a chain which I’ll go into below.
Different types of quick links
Several different brands now have their own version of the quick link.
It is important to select one that is designed for your chain speed (9, 10, 11, or 12 speed).
Reusable vs non-reusable
Another difference with some of the various brands links is that they are designed as a one-use locking link, and are not intended to be reconnected once broken apart again.
Shimano: They do not recommend reuse of their links.
SRAM: They do not recommend reuse of their links.
KMC: Offer both reusable and non-reusable links.
The main reason that the chain manufacturers don’t recommend reuse is that the links can be damaged during disconnection, and you may be adding a weak point to your chain if you are to reconnect it.
Many riders do however largely ignore that advice, and reuse the links – but there is plenty of debate over whether that is a risk worth taking for the sake of a few dollars.

How to fit a quick link to your 10 speed chain
It’s actually a very straight forward process to attach a quick link.
You’ll usually only need a couple of things to install one on your existing chain:
- Chain breaker tool
- 10-speed quick link
- Quick link removal tool (if you want to remove the chain – not normally needed for install)
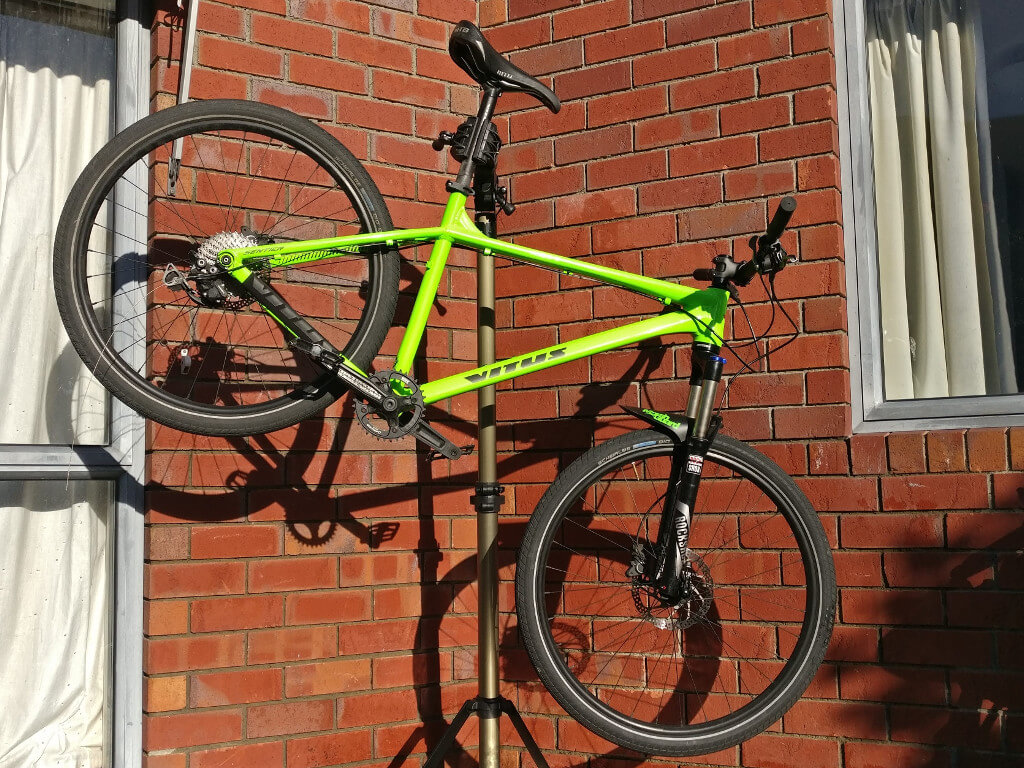
You’ll notice that in the photo of the bike tools I had on hand for this job that I had a few extras – my allen keys, cable cutters, Phillips screwdriver and drivetrain cleaning brush. I was actually doing a bit more to the bike at the same time, but that’s a story for another day.
First, look closely at your chain to find the pin that was used to join it. You might need to clean the chain if it’s a bit grimy.
Then using your chain breaker tool, break the chain at that pin.
You’ll then need to break it at the next pin over, so that you have two inner segments that the outer quick link will be able to join.
If you’re wanting to shorten your chain by removing an additional couple of links, now is the time to do that – just make sure you don’t shorten it too much!
I recommend only removing 2 links at a time and checking how far forward the rear derailleur is being pulled when the chain is in the largest sprocket on the cassette. If it’s not being pulled much, you can make a judgement call on whether you should remove another 2 links or not.
Now simply put the quick link pins through either side of the chain and bring the links together so the pins go through each side.
Make sure you check for directional arrows which are present on some types of these quick links, indicating the direction the chain travels.
Next you need to lock your quick links into place, which will require some force.
Before you do this, closely inspect both sides of the chain to make sure the pins are positioned correctly on each side, flush with the outer surface of the chain.
Then just grab the brakes on the bike, and put your weight on the pedal to put some pressure on the chain.
You should hear it click and feel it snap into place.
Take another close look at each side of the chain, and you should see that it is nice and even, and the tops of the pins are now in the end position. This link should feel very similar to the rest of the links in your chain.
All done!